 By far one of the most utilized kicks in Taekwondo ever is the Round House Kick, AKA Dollyo Chaggi, in Korean. The basic rear leg round house or roundhouse kick is practiced over and over and over again to refine it, make it faster, and make it more powerful. The technique also serves as a foundation for other more advanced kicks such as fast kick (front leg roundhouse), switch kick (in place roundhouse), natobon (spinning roundhouse), and let us not forget the multiple variations of double kick where a practitioner throws a roundhouse kick and then immediately executes a second, opposite side roundhouse kick, before the first kick is complete.
As you can imagine, getting the roundhouse kick down is extremely important. If you can’t throw a good basic round house kick then chances are none of the more advanced kicks will be very good either. Of course we all want to do the fancy stuff to look cool but the reality is that looking cool and being effective could be two separate things. Some of those flashy looking kicks seen at martial arts demos are fantastic but some are just for looks and may not be very good when actually hitting a moving target or quite frankly a harder more solid target.
As with any kick, the round house has a large amount of variation depending upon the style, the application and the person executing it. You can kick low to a leg or high to someone’s head. You can kick at a 20 degree angle, a 45 degree angle, a 90 degree angle or higher and everything in between. You can kick for speed, for power, for precision or for blind luck. You can kick with your shin, with your instep or with the ball of your foot. Holy cow! Where do we start?
Well, we start with the basic steps. Basics are just that, the basics. They are a starting point, a place where you learn the fundamental mechanics behind making something happen. The basic steps are not the only way to do something they are where we are going to begin. How’s that?
I'm going to lay out some basic steps to execute a 90 degree roundhouse kick, taekwondo style. Now before you start, you have to understand that in many cases including this guide the finished product will not flow as it does in the basic steps. The steps are pieces of the entire process frozen in time and the actual kick will flow much differently. But hey, this flow will come in time so let’s move on.
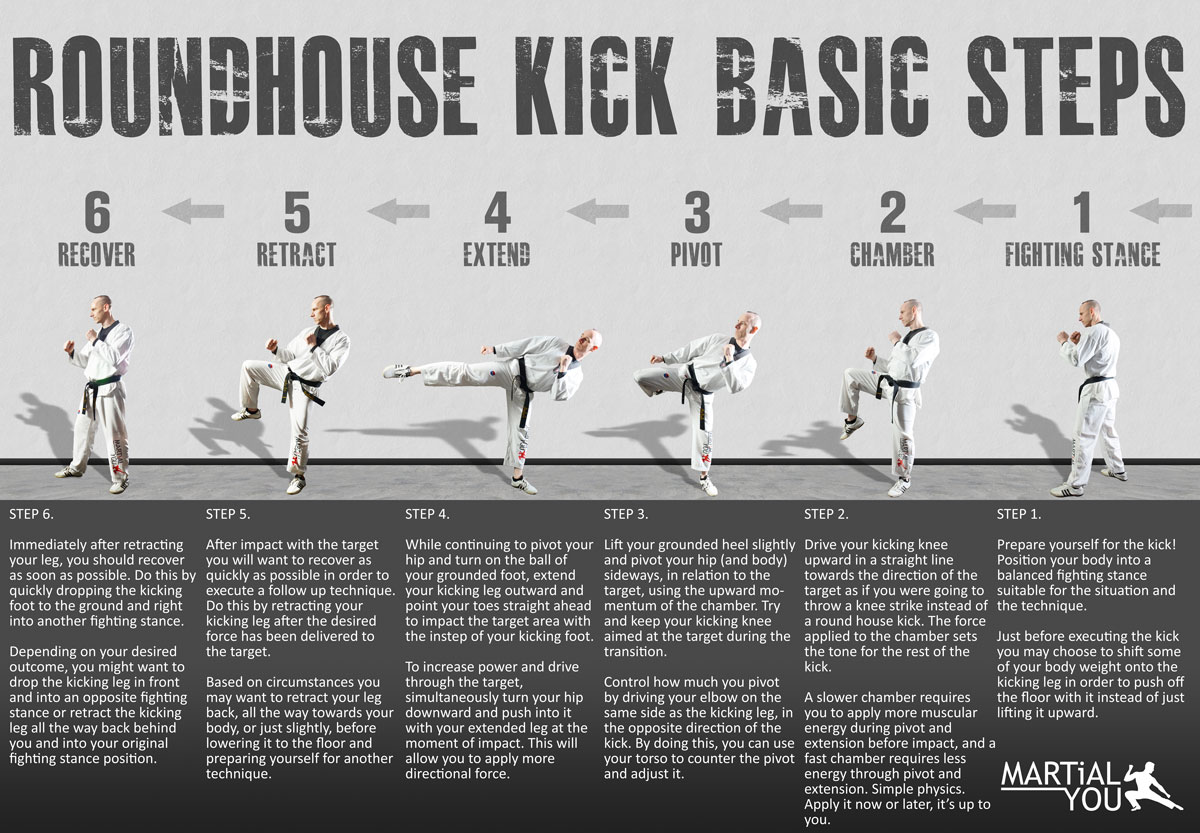
Below are the six basic steps that I have blocked out in order to help my students learn a roundhouse kick. There are a lot of body mechanics that can't be conveyed through these basic steps. If we tried to cover everything I'd have to write an entire article on each step, and even then I would suggest that you have a qualified instructor help you tweak the kick.
STEP 1
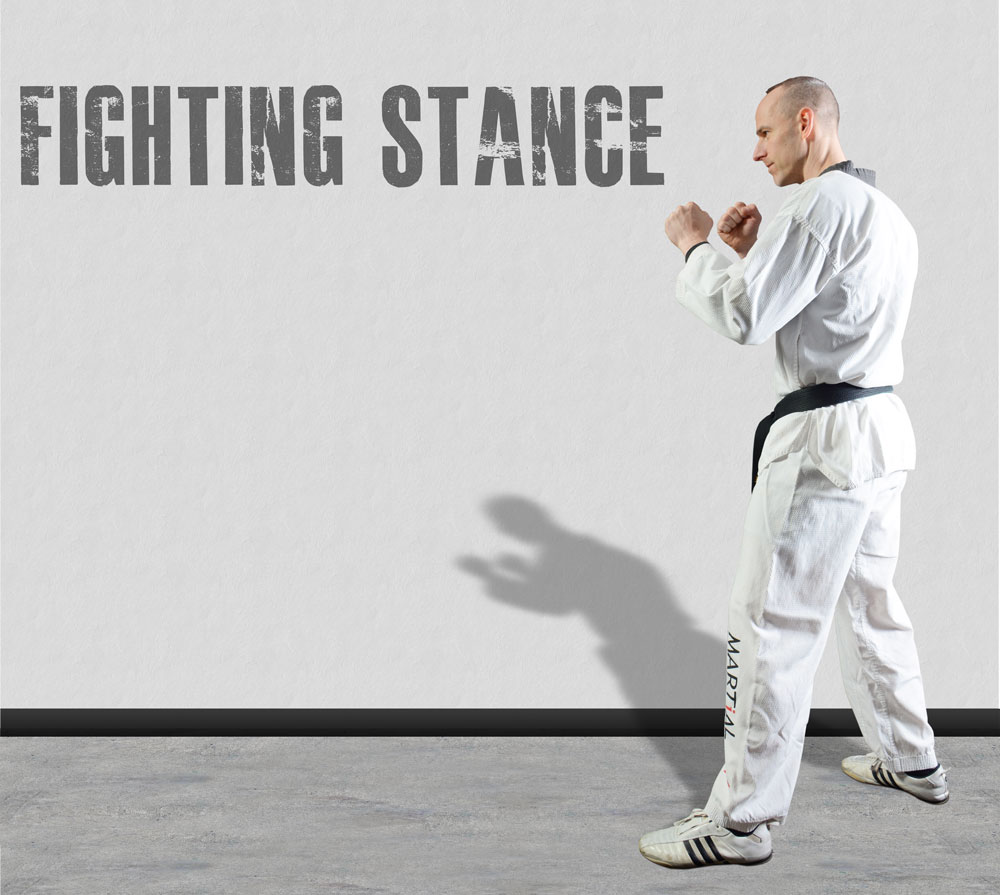
Prepare yourself for the kick! Position your body into a balanced fighting stance suitable for the situation and the technique. Just before executing the kick you may choose to shift some of your body weight onto the kicking leg in order to push off the floor with it instead of just lifting it upward.
STEP 2
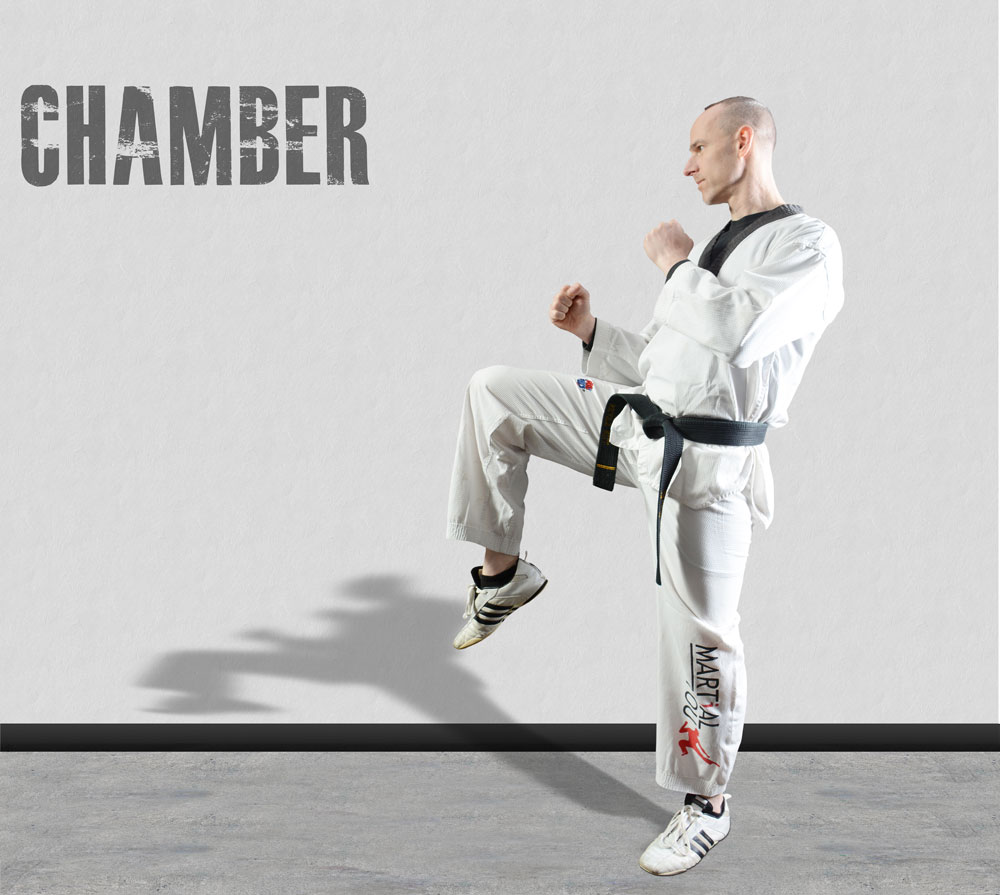
Drive your kicking knee in a straight line upward and towards the direction of the target as if you were going to throw a knee strike instead of a round house kick. The force applied to the chamber sets the tone for the entire kick. A slower chamber requires you to apply more muscular energy at the end of the kick in order to speed it up before impact and a fast chamber requires less energy through the rest of the technique. Simple physics. Apply it now or later, it’s up to you.
STEP 3
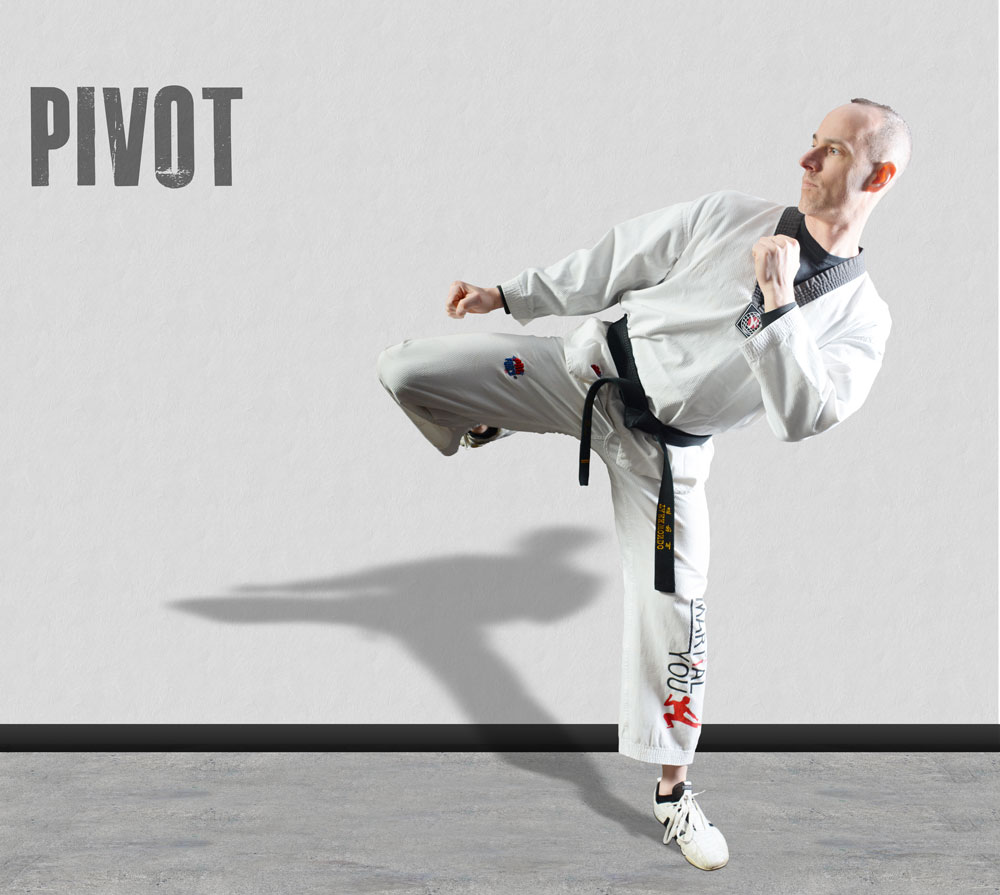
Lift your grounded heel slightly and pivot your hip (and body) sideways, in relation to the target, using the upward momentum of the chamber. Try and keep your kicking knee aimed at the target during the transition. Control how much you pivot by driving your elbow on the same side as the kicking leg, in the opposite direction of the kick. By doing this, you can use your torso to counter the pivot and adjust it.
STEP 4
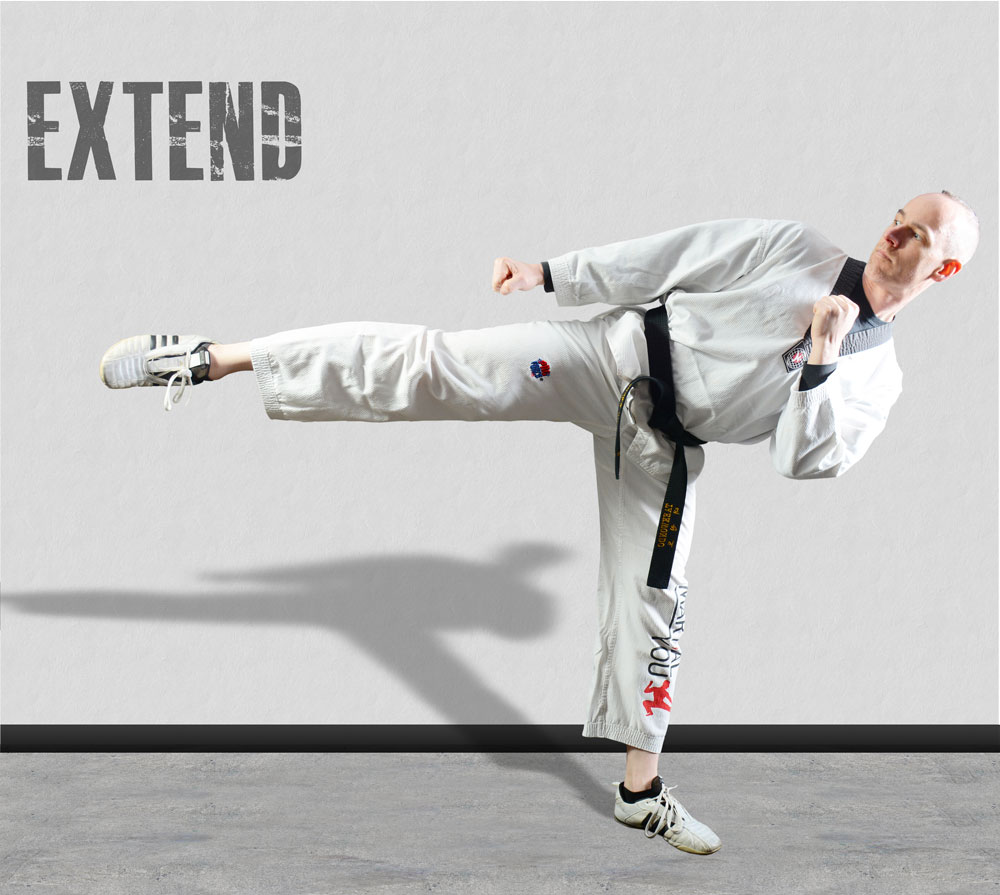
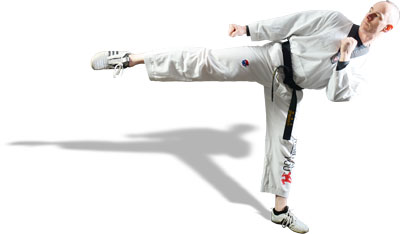
While continuing to pivot your hip and turn on the ball of your grounded foot, extend your kicking leg outward and point your toes straight ahead to expose the instep area of the kicking foot. You may choose to relax your kicking leg muscles at this point and allow the built up momentum to carry your instep to the target, or you can exert more muscular energy and drive through the target.
STEP 5
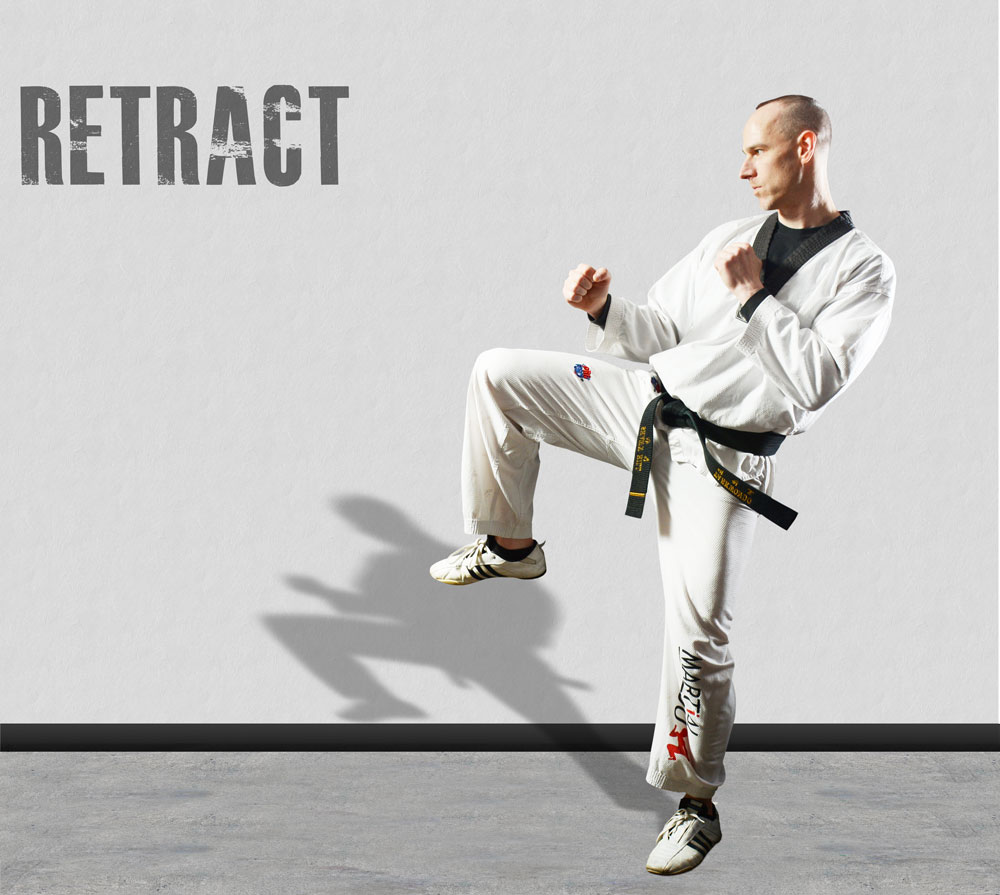
After impact with the target you will want to recover as quickly as possible in order to execute a follow up technique. Do this by retracting your kicking leg after the desired force has been delivered to the target. Based on circumstances, you may want to retract your leg back, all the way towards your body or just slightly, before lowering it to the floor and preparing yourself for another technique.
STEP 6
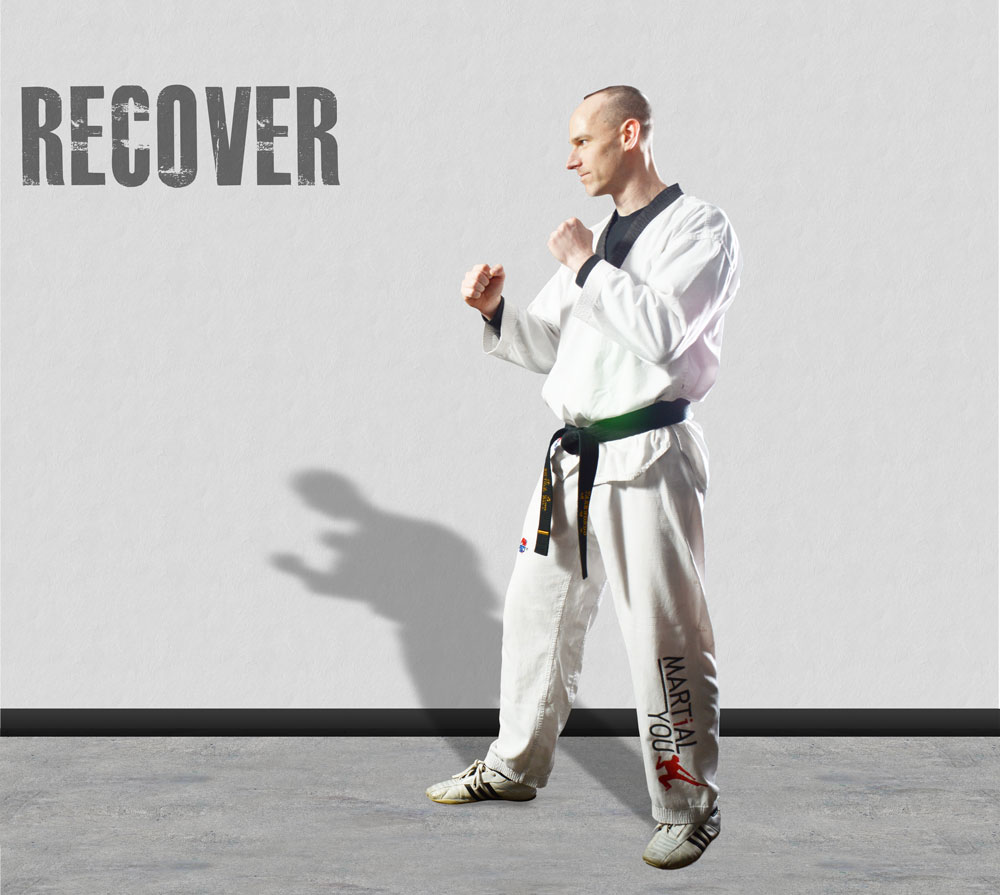
Immediately after retracting your leg, you should recover as soon as possible. Do this by quickly dropping the kicking foot to the ground and right into another fighting stance. Depending on your desired outcome, you might want to drop the kicking leg in front and into an opposite fighting stance or retract the kicking leg all the way back behind you and into your original fighting stance position.
Here are the basic steps laid out in a horizontal fashion as a quick reference guide. You may get the poster size of this by clicking on the picture.
Now that you have the basic steps, you must practice them and refine your technique. Get those motor skills programmed in and fine tune the mechanics. As I said before, I would work with an instructor on the details because there are a lot of details in between each step and far beyond the scope of this guide.
For example:
Many of my students when first learning the roundhouse kick, would extend their leg out as in step number four to hit the target. The problem was, as soon as they thought their foot hit the target they would retract the leg and almost no force would be applied to it. Essentially the target would get tapped to death. This is understandable considering step five is to retract the leg, and if you go strictly by the steps, you may not apply any force. This is where an instructor comes in. They can assist you with fine tuning and interpretation of basic steps.
Another example is how to apply more force to the kick once extended. After extending your leg to hit a target, you can exert more force on the target by continuing to turn your hip downward in the direction of the kick. Keep your leg extended by contracting your thigh muscle and push through the target before retracting the leg. You must decide when the impact is over and how to retract your leg to recover. So… Get to class!


